PERSONALIZE YOUR COMPUTER
Part II: Sounds:In the previous section we learned that in order to change what we see we need to go to the Display Properties Dialog Box.
In order to change what we hear, we need to go to the Sounds Properties Dialog Box.
(Who said computers are not logical?)
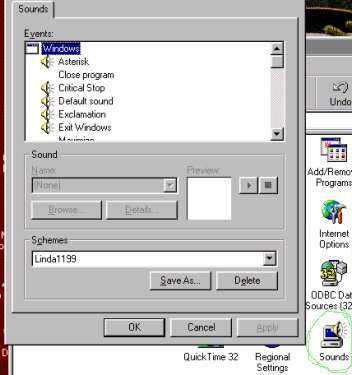
Click on your Start Button (lower left hand corner of your screen), then select Settings, click on Control Panel, and Double-click on Sounds.
That opens the Sounds Properties Dialog Box.
You will see a large window labelled EVENTS. These are the activities you can add sounds to. For example, your computer probably already has a sound it makes when you turn it on and when you turn it off.
If the event already has a sound assigned to it, you will see a speaker icon to the left of it.
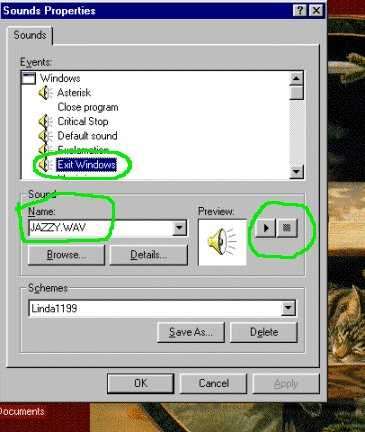
Try highlighting "Exit Windows". The name of the sound appears in the Name box and you can hear this sound by clicking on the Preview Button.
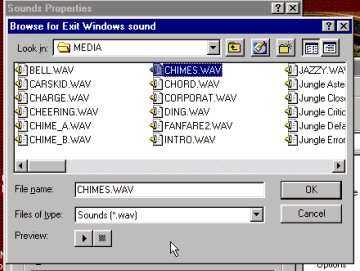
To preview all the sounds available to you, click on the Browse button below the "Name". That opens the "Browse for Exit Windows sound" window. (Or "Browse for {whatever Event you have selected} sound".)
Highlight a sound and click the Preview button for each sound you want to hear. Make note of which ones you like and then go back to the Dialog box.
Highlight the event for which you want a sound and then choose the sound by its name.
When finished you should save your selections using the SAVE AS box and give your sound scheme a new name. (Just like you did to create a "look" for your desktop, now you can create a "sound scheme" of your own."
WINDOWS MEDIA PLAYER
There are other sounds that come with your computer in Windows Media Player.
You can find Media Player by clicking Start, pointing to Programs, pointing to Accessories, pointing to Entertainment, and then clicking Windows Media Player.
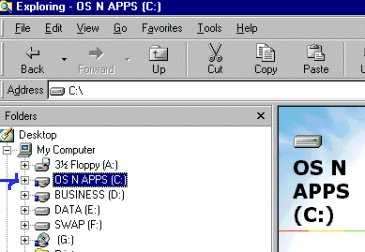
Or go to Windows Explorer. Its icon looks like this:
Click the little + sign next to your C Drive. Mine is named OS N APPS (C). Yours may have another name but should always be Drive C.
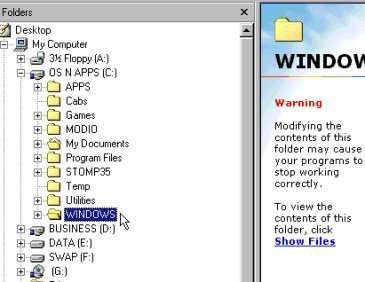
Open (Click on the little + sign) next to WINDOWS
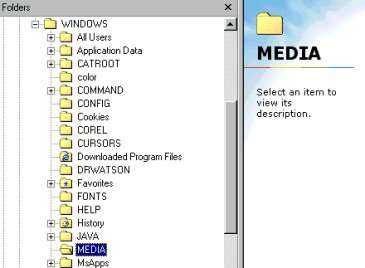
and scroll down until you find MEDIA.
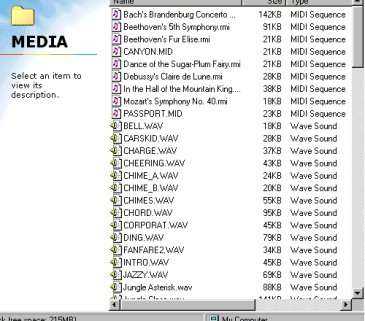
Click on MEDIA and the screen to the right will show you what sound (WAV) files and what music (MIDI) files you have.
(If you get a screen that is different than the one above, your view may have a diffent setting than mine does. Go to "View" on your menu bar and select "Details".)
Select one of the MIDI files and a window will open showing the name of the music in the title bar and giving you a menu of options.
The music will begin and you can go on and do other applications, play games, etc. with the music playing in the background.
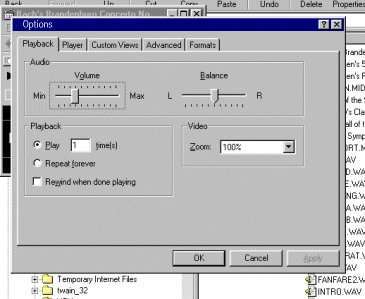
Go to the VIEW selection of this new window and at the bottom of the pop-down menu you will find OPTIONS.
You can set your Media Player to play your selected music once or many times, and set the volume and balance.
You will also see a HELP option on your Menu Bar.
Media Player does much more than play music.
It can be used for video as well as audio and is used when you are on-line (ie, on the Internet) to allow you to listen to broadcasts or preview movies, etc.
For those interested in these options, we advise you to browse through the HELP topics in Media Player for further information.
CD-ROM DRIVE
Of course you can also listen to your own music CD's from your CD-ROM drive. Some drives are set up with AUTORUN features so that all you have to do is put your CD in the drive and close the door and the music will start. You will get a button on the task bar which you can click to control the CD (change the volume, skip to another track, etc.)
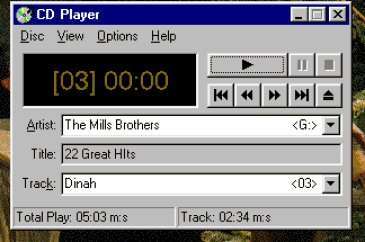
If your CD drive does not have AUTORUN, go to Windows Explorer and select the drive that has this icon next to it (mine is Drive G). (You need to have a CD in the drive first.)
You'll see a menu bar in your CD Player window.
Start with Options to choose continuous or random play and to set Preferences.
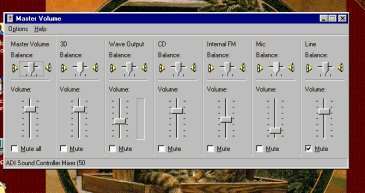
Go to View to change the way information is displayed. You'll find a Volume Control setting here. (The volume is also controlled using the small knob on your speaker.) This "Master Volume" allows you much finer control over balance between your speakers, etc. For more information on the settings of "Master Volume", it has its own Help menu.
(To access the Master Volume Control panel without having a CD loaded, go to Start/Programs/Accessories/Entertainment/Volume Control.)
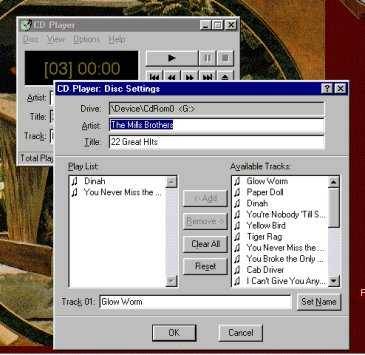
In your CD-Player window, click on Disc and choose Edit Player List
From this menu you can manipulate which tracks you choose to play or specify in which order to play them, etc.
First identify the CD by typing in the title and artist's name.
On the right side under Available Tracks, highlight the track number and then type the names of the tracks in the box at the bottom. Click Set Name. Repeat this for all the tracks on your CD.
Now go back through your Available Tracks list and highlight the song that you want to hear first. Click Add. The name will show up in your Play List. Continue in this fashion until you have the list the way you want. If you change your mind, click Clear All and start over. If you want to play the songs in the same order as in your Available Track list, click the Reset button. The Remove button is used to "remove" the selection from the Play List.
Your CD Player also has a help menu which gives more information than is covered here. (Including how to enable/disable AUTORUN.)
OK, I think we've pretty well covered what comes with your computer. You are by no means limited by that, however. You can add icons, music files, wallpaper, desktop patterns, etc.
That's where we are going next......so just click here to return to the table of contents, then go to Part III: Adding on to your computer.
*Windows* refers to Microsoft Windows 95® or Microsoft Windows 98®.